Changing a toilet flange on cast iron is not a routine plastic-flange swap. The old pipe may have a lead-and-oakum joint, a rusted hub, or a flange that breaks when disturbed. Small details matter. A rocking toilet, cracked wax seal, or damp mark around the base can signal trouble, but none proves the flange is the only cause. This guide explains how to change toilet flange on cast iron pipe, how to inspect the connection, and when a compatible repair flange may be safer than cutting the pipe.
Reliable sources help set expectations. The U.S. Environmental Protection Agency’s WaterSense leak guidance estimates household leaks can waste nearly 10,000 gallons of water per year; that figure covers leaks broadly, not toilet-flange failures specifically. Plumbing codes and product instructions also matter. The International Plumbing Code addresses plumbing materials and installation, but local rules and adopted editions vary. Check them before work begins. A poor fit can leave the toilet unstable and allow wastewater or odors to escape.
A note on expert attribution: I could not verify a published, verbatim statement from a named plumbing expert specifically about replacing a toilet flange on cast iron, so I will not invent one. That gap matters. Use manufacturer installation instructions and a licensed plumber’s assessment when the cast-iron hub is cracked, the pipe moves, or the repair would require cutting. Take a clear photo before removal. It may save a second trip.
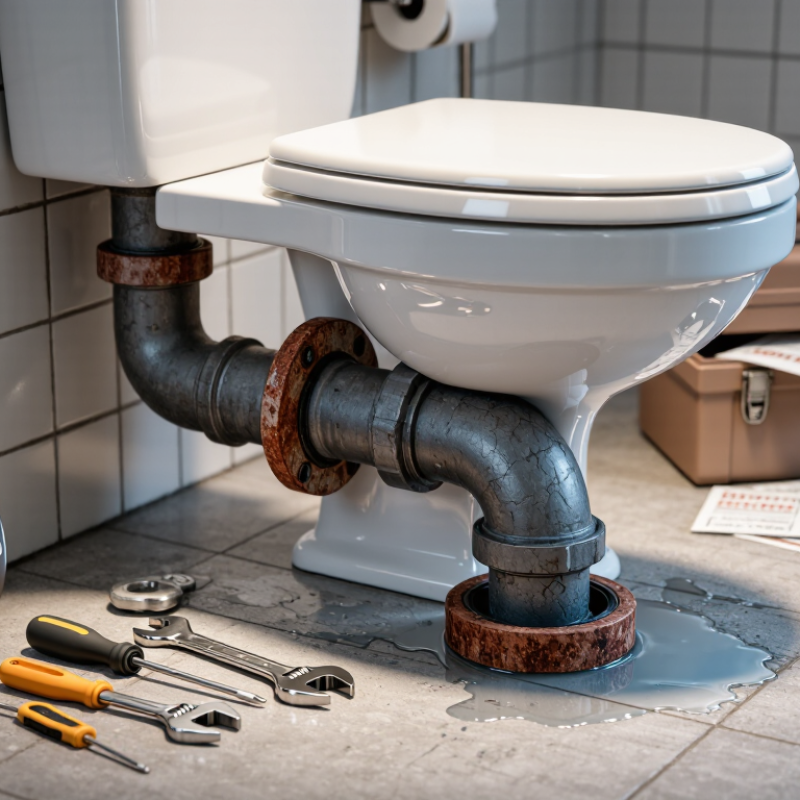
Before changing the flange, expose enough of the cast-iron hub to inspect its rim, interior, and surrounding floor. Look for cracks, heavy scaling, a loose hub, or a pipe that has shifted out of level. Old iron is rarely perfectly round. Measure the opening at several points, and remove loose rust without grinding away sound metal. A flange that fits one side of an oval opening may rock on the other. That detail is easy to miss.
For a code-based benchmark, the 2021 International Plumbing Code’s drainage-sizing provisions set a 3-inch minimum drainage connection for a water closet. Confirm the edition adopted by your local authority before choosing a repair method. The nominal pipe size alone does not prove the opening is sound or compatible with a replacement flange. Check the actual inside diameter, hub condition, and finished floor height. Measure twice.
A sound cast-iron hub may accept a flange designed for that connection; damaged or badly corroded iron may need a different repair approach. Keep the new flange level and firmly supported, with its top positioned for the finished floor. If the pipe is cracked, loose, or deeply scaled, pause before installing anything. A neat-looking flange can still conceal a failing drain, and that is where judgment sometimes needs a second look.
| Assessment or Task | What to Check | Practical Guidance | Code or Safety Consideration |
|---|---|---|---|
| Confirm the drain size | Identify the nominal size and connection style of the existing cast-iron drain, such as hub-and-spigot or no-hub. | Measure and inspect the pipe and fitting; do not select a flange based only on the visible opening. Choose a flange specifically listed or designed for the pipe type and connection method. | Under the IPC, a water-closet fixture drain is generally required to be at least 3 inches. Verify the adopted code edition and local amendments. |
| Inspect the cast iron | Look for cracks, severe corrosion, deformation, loose joints, and damaged pipe at the flange connection. | Do not attach a new flange to unsound or badly damaged pipe. A plumber may need to replace a section or fitting before installing the flange. | Cast iron can be brittle. Avoid striking or levering against the pipe in a way that could crack it. |
| Remove the old flange | Determine whether the flange is secured with screws, a compression seal, a hub connection, or another fitting-specific method. | Remove fasteners and the old flange using a method suitable for its construction. Clear debris without allowing material to fall into the drain. | Use eye protection and gloves. If removal requires cutting or disturbing a lead-and-oakum joint, consider having a qualified plumber perform the work. |
| Select the replacement | Match the flange to the cast-iron pipe size, connection style, and available depth. | Use a flange intended for cast iron and follow its installation instructions. Compression-style products must be compatible with the measured pipe and installed with the specified seal. | Do not assume that flanges with similar-looking openings are interchangeable; connection dimensions and installation requirements vary. |
| Set flange height and position | Check the finished floor height, flange orientation, and alignment with the toilet outlet and closet bolts. | Position the flange so it is level, properly aligned, and supported at the finished floor. Secure it using the fasteners and substrate method specified for the product. | Follow local requirements and the flange manufacturer’s instructions for mounting and finished-floor placement. |
| Check the drain connection | Confirm that the flange is fully seated and that its seal or joint is continuous and undamaged. | Inspect the connection before setting the toilet. If the flange moves, the seal is visibly compromised, or the pipe is damaged, correct the issue before use. | A flange connection must not reduce the required drainage capacity or create an improper obstruction in the drain. |
| Install and test the toilet | Check that the toilet sits steadily and that the closet bolts and seal are correctly installed. | Set the toilet without rocking, tighten fasteners evenly without overtightening, and flush several times while checking the base and nearby drain connection for leaks. | Follow the toilet and seal instructions. A leak or unstable fixture should be corrected rather than concealed with caulk. |
| Verify local requirements | Confirm which plumbing code edition and amendments apply to the property. | Check with the local building department or a licensed plumbing professional before work if permits, concealed piping, or uncertain connections are involved. | The IPC is adopted and amended by jurisdictions differently; the 3-inch minimum should be checked against the locally applicable code. |
Important: This guide is general information, not a substitute for the locally adopted plumbing code, product instructions, or an on-site assessment of damaged cast-iron piping.
Expose the hub rim, interior, and nearby floor. Look for cracks, heavy scaling, looseness, or a pipe that sits out of level. Check several points because old openings may be oval. Measure twice.
A 2021 plumbing-code benchmark sets a 3-inch minimum drainage connection. Confirm which code edition your local authority has adopted. Nominal pipe size alone does not confirm the opening is sound or compatible.
Identify whether screws, lead, or a metal collar hold it in place. Remove visible fasteners, then loosen the flange carefully. Avoid hard hammering or prying. Cast iron can crack.
Watch for hairline cracks, deep pitting, flaking rust, missing metal, or movement when touched. A flashlight and small mirror can reveal damage around the far side. A clean-looking rim can still hide trouble.
Scrape away old wax with a plastic scraper and bag the debris. Keep the drain covered while working. Remove loose rust, but do not grind away sound metal or gouge the pipe.
It should be level, firmly supported, and positioned for the finished floor. Check the hub’s actual inside diameter and condition. A flange that fits one side but rocks on the other is not a good fit.
Set the bowl gently on a new seal and tighten each side with small, alternating turns. Stop when it feels stable. Flush several times, then check the base and any accessible ceiling below. Go slowly.
Dry the area, then look for fresh moisture or sewer odor. If water returns, lift the toilet and inspect the seal instead of tightening the bolts harder. Overtightening can crack porcelain.
No. A plumbing-code benchmark calls for at least ⅛ inch of slope per foot on horizontal 3–6-inch pipe. Confirm local requirements. A short exposed section can mislead; sagging between supports may be hard to spot.
This guide explains how to change toilet flange on cast iron pipe by first assessing the existing drain and confirming that the water-closet connection meets the IPC minimum diameter of 3 inches. Choose a flange and sealing gasket suited to the pipe’s size, condition, and connection type. Before installation, remove the old flange carefully and inspect the exposed cast iron for cracks, corrosion, or other damage that could affect the seal.
Fit and secure the replacement flange so it sits level with the finished floor, then reset the toilet with a sound seal and tighten the fasteners evenly. Flush several times and check around the base and connection for leaks. The guide also highlights maintaining the proper drain slope—⅛ inch per foot for 3- to 6-inch pipe—and recommends addressing any pipe damage or installation concerns before putting the toilet back into service.

 EZ STEEL