Properly flanging a pipe is critical in many industrial applications. As industry expert, John Smith, once said, "The quality of your flange connection can make or break your project." Understanding how to flange a pipe effectively is essential for ensuring airtight and leak-proof joints.
Many professionals overlook the importance of preparation. Ensuring surface cleanliness is vital. A poorly prepared pipe can lead to weak connections. Using the right tools matters too. Selecting the right flange type depends on the specific application. Inadequate knowledge can result in improper installations, which may cause costly repairs later.
When considering how to flange a pipe, attention to detail is crucial. It’s also beneficial to familiarize yourself with various techniques. Learning from mistakes is part of the process. Each project presents unique challenges. Reflecting on past experiences can lead to better practices. Striving for improvement can elevate your flanging skills significantly.
Flanging a pipe requires a solid understanding of techniques. Properly executed flanging ensures effective sealing, enhancing the integrity of your piping system. Start by selecting the right flange type and size for your project. Materials must also match the pipe to avoid compatibility issues.
When flanging, ensure you use the right tools. A proper torque wrench is essential for achieving the correct tightness. Incorrect pressure can lead to leaks. Pay attention to the gasket selection as well. A poorly chosen gasket can compromise the system’s reliability.
Practice makes perfect, but errors often occur. Watch for uneven surfaces during preparation. Flanges should be clean and free from debris. This small detail can have a big impact. Over-tightening can also create problems, leading to flange warping or damage. Regular inspection can catch these issues early.
| Tip Number | Tip Description | Importance | Best Practices |
|---|---|---|---|
| 1 | Choose the correct flange material. | High | Assess pressure and temperature requirements. |
| 2 | Ensure alignment of the pipes before flanging. | Medium | Use alignment tools to minimize stress. |
| 3 | Clean flange surfaces thoroughly. | High | Remove dirt, rust, and old gaskets. |
| 4 | Select the right gasket for the application. | High | Match gasket material with fluid type. |
| 5 | Use proper torque for fastening bolts evenly. | High | Follow recommended torque specifications. |
| 6 | Check for any signs of leaks post-installation. | High | Perform pressure tests to ensure integrity. |
| 7 | Consider the flange type for your application. | Medium | Select between welded, slip-on, or threaded flanges. |
| 8 | Avoid over-tightening the bolts. | High | Use a torque wrench to maintain consistency. |
| 9 | Monitor flanged connections regularly. | Medium | Schedule routine inspections for wear and tear. |
| 10 | Educate personnel on proper flanging techniques. | Medium | Provide training sessions and resources. |
: Proper flanging ensures effective sealing and enhances the integrity of the piping system.
Select the correct flange type and size for your specific project needs.
A properly calibrated torque wrench is crucial for achieving the correct tightness.
Watch for uneven surfaces and ensure flanges are clean and free from debris.
Improper alignment of flanges often causes leaks due to uneven stress.
Follow the bolt tightening sequence and torque specifications closely.
Regular checks can identify issues early, preventing costly leaks or damage.
Factors like vibration and temperature changes may require adjustments over time.
Flanges must accommodate expansion; otherwise, they can suffer severe damage.
Reflecting on alignment errors can help improve future flanging practices.
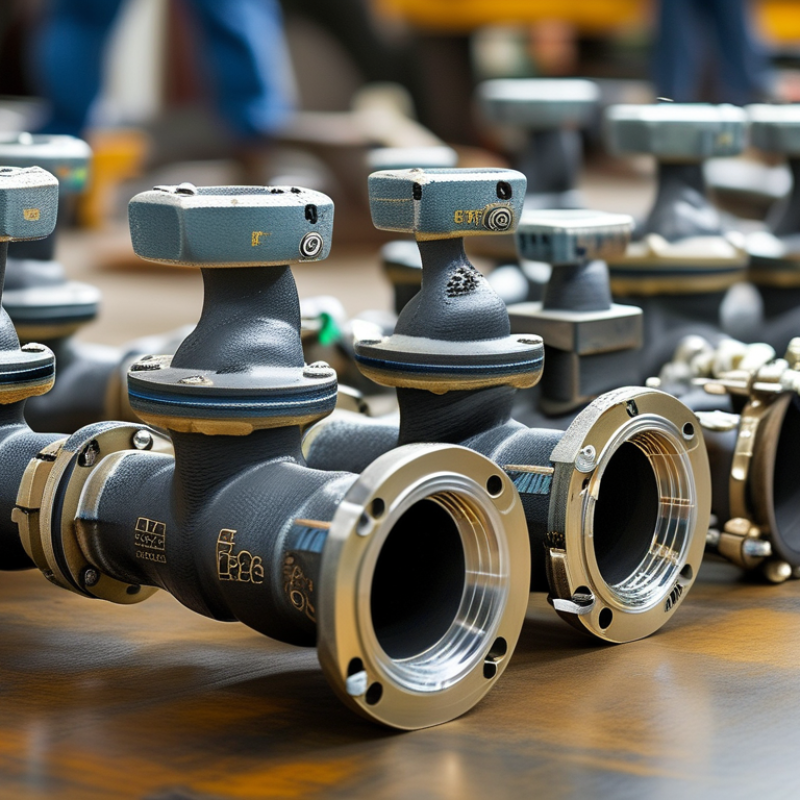
Flanging a pipe is a crucial technique in creating secure and reliable connections in piping systems. To understand how to flange a pipe effectively, one must first grasp the basic principles of the flanging process, which involves bending the pipe's lip to allow for secure fittings. Essential tools such as flange gaskets, bolts, and wrenches play a vital role in ensuring a successful flanging operation.
The step-by-step guide for preparing pipes includes cleaning and cutting the ends to the correct specifications, followed by aligning and joining the flanged pipes accurately. Adhering to best practices is key to achieving a perfect seal and preventing leaks. Additionally, being aware of common mistakes, such as improper alignment or insufficient torque on the bolts, can significantly impact the quality of the connection. By following these guidelines, one can master how to flange a pipe and ensure the integrity of their piping system.