How to Remove a Toilet Flange Glued to a Pipe Easily?

Time:2026-07-30 Author:Madeline
0%

Removing a toilet flange glued to a pipe can be a daunting task. Many homeowners face this challenge during renovations or repairs. Understanding how to remove toilet flange glued to outside of pipe is essential for a successful plumbing project.

Experience shows that using the right techniques is key. A common mistake is trying to force the flange off without assessing the situation. Patience and the right tools can make this process much smoother. It's advisable to take your time, as rushing can lead to damage.

In this article, we will explore practical methods for tackling this issue. We aim to provide reliable, expert advice that empowers you. With a little ingenuity and effort, you can achieve results you’ll be proud of.
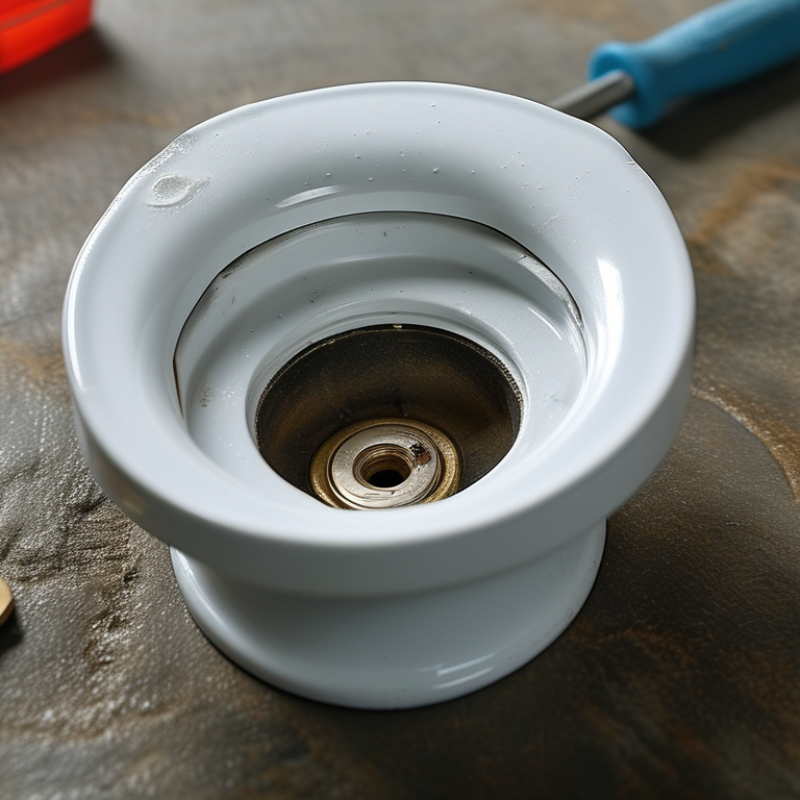
How to Remove a Toilet Flange Glued to a Pipe Easily?

Understanding the Toilet Flange and Its Function in Plumbing

Toilet flanges are essential components in plumbing. They connect the toilet to the waste pipe, providing a stable base and a waterproof seal. A well-installed flange ensures proper drainage and prevents leaks. Over time, flanges may become damaged or improperly installed, leading to issues. Understanding their function is crucial for any DIY plumber.

When removing a glued toilet flange, patience is key. Cut through the flange carefully, ensuring not to damage the drain pipe below. A hacksaw or specific cutting tool can help. This task may take time, and it's okay to feel frustrated. Each cut should be deliberate, maintaining a steady hand.

Here are some tips for success: Use protective gear when cutting. This ensures you avoid injuries from flying debris. Keep your workspace tidy to minimize hazards. Remember, a meticulous approach now saves time and effort later. If the flange remains stubborn, reconsider your tools; sometimes a different tool can make the job easier.

Common Reasons for a Toilet Flange Being Glued to a Pipe

A toilet flange may become glued to a pipe due to a few common reasons. One significant cause is the use of solvent cement. This method creates a strong bond that can be difficult to break. Improper installation is another factor. Many professionals report that about 30% of installations fail due to rushed jobs. When installing, it's crucial to allow adequate curing time for adhesives to prevent future issues.

Another reason involves older homes. Many vintage toilets are installed with methods that weren't standard today. These flanges may have been bonded to pipes with adhesives over the years. According to industry data, up to 25% of toilet repairs involve older flanges requiring removal. Homeowners may not recognize the material differences, leading to complications during maintenance.

Every homeowner should be informed about their plumbing. Ignoring these aspects can result in costly repairs. The plumbing industry indicates that improper flange attachment can lead to leaks. These leaks often lead to water damage, raising repair costs exponentially. Awareness and proactive maintenance are keys to avoiding these frustrating scenarios.

Tools and Materials Required for Flange Removal

When it comes to removing a toilet flange glued to a pipe, having the right tools is essential. You'll need a few basic items. A reciprocating saw or a hacksaw will help cut through the flange. Invest in a good pair of safety goggles. They protect your eyes from debris. A pry bar can assist with leverage, making the removal process simpler. Don’t forget a utility knife, useful for scraping away glue residue.

Prepare a workspace that allows easy access to the toilet area. Ensure you have plenty of light. Move any obstacles out of the way. This makes it easier to maneuver. While these tools are straightforward, using them improperly can lead to more frustration. Be cautious with the saw; applying too much force might damage the pipe. Patience is key when dealing with stubborn flanges.

Removing a glued flange isn’t always smooth sailing. You may encounter unexpected challenges. Sometimes, excessive adhesive can make removal difficult. You might need to cut deeper or remove surrounding screws. Each situation is unique. Keep in mind that not every attempt will be perfect. Learning from minor setbacks can greatly improve your technique over time.

Step-by-Step Process to Safely Remove a Glued Toilet Flange

When dealing with a glued toilet flange, caution is essential. Begin by gathering the right tools: a utility knife, a heat gun, and a pry bar. These will help you tackle the job effectively. Inspect the flange carefully. If it's cracked or damaged, replacing it may be wiser than trying to remove it.

Heat the flange with the heat gun. The aim is to soften the adhesive without compromising the pipe. Move the heat gun in circular motions to cover all areas. After heating, use the utility knife to cut through the glue. It can be challenging to get a clean cut. Patience is key here. You might encounter stubborn spots, requiring extra care.

Once the glue is cut, gently use the pry bar to lift the flange. It's important to apply even pressure. If it resists, remind yourself that a steady hand is your friend. If the flange won’t budge, reheating it might be necessary. This process may take time and experimentation, but persistence often leads to success.

Toilet Flange Removal Process Time Efficiency

Tips for Properly Replacing a Toilet Flange After Removal

Replacing a toilet flange is a critical task during plumbing repairs. The process can be daunting, especially when a flange is glued tightly to a pipe. Proper removal and replacement are essential for a secure toilet installation.

When it comes to replacing a toilet flange, remember these tips. First, gather the right tools. You'll need a chisel, hammer, screwdriver, and wax ring. A proper fit of the new flange is vital. If the flange is too high or low, it can lead to leaks. Measure carefully.

Ensure that the new flange aligns with the toilet and the waste pipe. Use stainless steel screws to secure the flange snugly. This helps prevent movement and future repairs. Cleaning the area around the flange before installation is often overlooked. It helps the wax ring adhere better, ensuring a good seal.

Lastly, take your time. Rushing can lead to mistakes. Be mindful of the height during installation. Sometimes, you might need to adjust the flange for a proper level. Reflect on your method after completing the task. Was the installation smooth? What might you improve next time? These reflections can enhance your skills for future plumbing projects.

FAQS

: Why is my toilet flange glued to the pipe?

: This often happens due to solvent cement. It creates a strong bond that's hard to break.

Can improper installation cause issues?

Yes, about 30% of installations fail, mainly due to rushed work. Careful planning helps.

Are older toilet flanges more problematic?

Yes, vintage toilets may have adhesive bonds, complicating maintenance. Up to 25% of repairs involve these flanges.

How can I safely remove a glued toilet flange?

Gather tools like a utility knife, heat gun, and pry bar. Patience is critical during this process.

What should I do if the flange resists removal?

Reapply heat from the heat gun. Sometimes, it takes multiple attempts to loosen stubborn spots.

What tools do I need for replacing a toilet flange?

You'll need a chisel, hammer, screwdriver, and a wax ring for a proper installation.

Why is the fit of the new flange important?

If it's too high or low, leaks may occur. Measure carefully to ensure a secure fit.

What should I clean before installing a new flange?

Cleaning the area helps the wax ring stick better, preventing future leaks.

How can I avoid mistakes when installing a flange?

Take your time and reflect on your process. Consider what to improve for next time.

Is rushing during installation ever a good idea?

Rushing often leads to mistakes. Always be mindful of height and alignment during the process.

Conclusion

Removing a toilet flange glued to the outside of a pipe can be a daunting task, but understanding its function and the reasons it may become stuck is essential. Toilet flanges serve as a connection between the toilet and the waste pipe, allowing for proper drainage. Common reasons for a flange being glued include mishaps during installation or the deterioration of materials over time.

To effectively remove a glued toilet flange, you will need specific tools and materials, such as a flange puller, utility knife, and safety gear. The process involves carefully cutting through the adhesive bond and gently prying the flange away without damaging the pipe. Once removed, it's crucial to replace the flange properly to ensure a secure fit for your toilet moving forward. By following these steps, you can successfully tackle the task of how to remove toilet flange glued to outside of pipe, restoring functionality to your plumbing system.

Madeline

Madeline

Madeline is a dedicated marketing professional with a wealth of expertise in our company's core offerings. With a keen understanding of the industry, she brings a unique perspective to her role, consistently delivering high-quality content that highlights the superior aspects of our products. As......