Removing a toilet flange glued to the outside of a pipe can be a challenging task. According to a report by the Plumbing Industry Association, approximately 30% of plumbing jobs involve flanges improperly installed, causing issues for homeowners. Expert plumber John Stevens emphasizes, “Many don’t realize the impact of a poorly attached flange. It leads to leaks and costly repairs.”
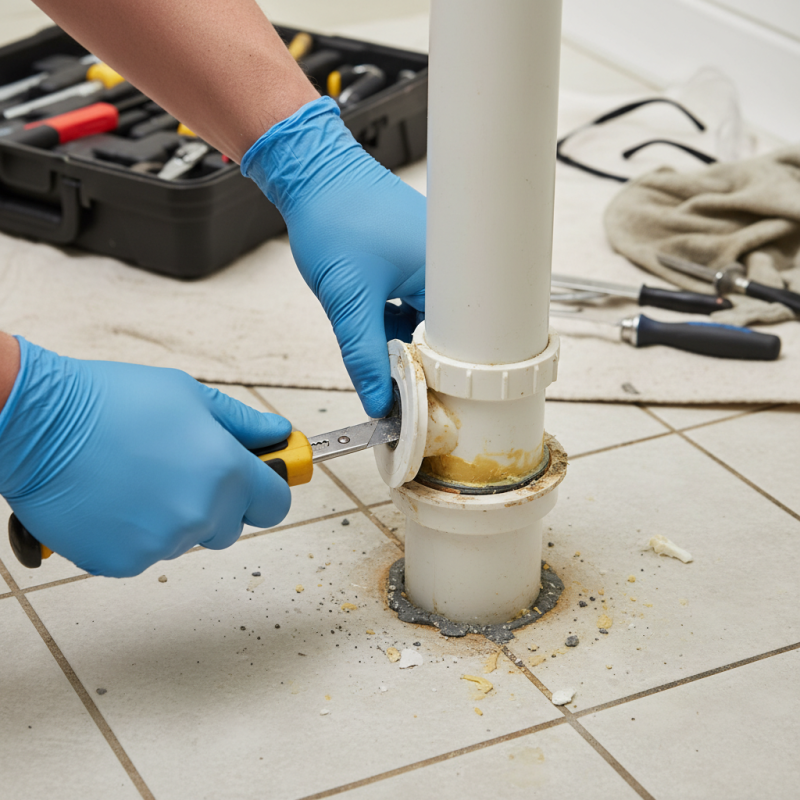
Understanding how to remove a toilet flange glued to the outside of a pipe is crucial. Tools such as a flange puller or a utility knife may be necessary to tackle stubborn adhesives. However, care must be taken to avoid damaging the pipe. Homeowners often face frustration, experiencing mix-ups with the process and tool choices.
Inadequate preparation can worsen the situation. Ensuring a clean work area and having the right supplies can make a significant difference. Reflecting on the difficulties, it’s essential to embrace the learning process. Mastering this task not only enhances plumbing skills but also builds confidence in home maintenance efforts.
Toilet flanges play a crucial role in bathroom plumbing. They secure the toilet to the floor and connect to the waste pipe. Understanding their installation is key. A well-installed flange provides a stable base, preventing movement or leaks. This connection is vital for proper toilet function.
A typical flange sits on the floor and connects to the drain pipe. Many flanges come with wax seals that create a watertight barrier. When installed improperly, issues may arise, leading to costly repairs. It’s important to choose the right type of flange for your toilet and pipe dimensions.
Flanges can also be glued to pipes, which adds strength but complicates removal. If a flange needs to be replaced, cutting may be necessary. Not every project goes smoothly; mistakes happen, and those can lead to further complications. Assessing your situation thoroughly can save time. Understanding flanges is essential for maintenance and repair tasks.
| Step | Description | Tools Required | Estimated Time |
|---|---|---|---|
| 1 | Turn off the water supply to the toilet. | Wrench | 5 minutes |
| 2 | Flush the toilet and remove any remaining water in the tank and bowl. | Bucket | 10 minutes |
| 3 | Remove the toilet from the flange carefully. | Helper, Level | 15 minutes |
| 4 | Apply heat to the glued flange using a heat gun. | Heat Gun | 10 minutes |
| 5 | Gently pry the flange off the pipe using a putty knife. | Putty Knife | 10 minutes |
| 6 | Clean the surface of the pipe to ensure a good fit for the new flange. | Cleaning Agent | 5 minutes |
| 7 | Install the new flange as per manufacturer's instructions. | New Flange, Screws | 15 minutes |
: A toilet flange secures the toilet to the floor and connects it to the waste pipe.
A well-installed flange prevents toilet movement and leaks, which can lead to repairs.
A typical flange rests on the floor and connects directly to the drain pipe.
Issues like leaks and movement can arise, leading to costly plumbing repairs.
Common adhesives include silicone, PVC cement, or epoxy, each with distinct properties.
Inspect for marks; silicone is rubbery, while PVC cement will feel hard and stiff.
A utility knife or scraper can assist in gently separating the flange from the pipe.
Soaking the joint in a solvent can weaken the bond for easier removal.
Rushing can lead to further complications; take your time to assess the situation.
Always prioritize safety and use necessary precautions when handling tools and chemicals.
In the article "How to Easily Remove Toilet Flange Glued to Pipe?", the importance of understanding toilet flanges and their installation is emphasized, providing a foundational knowledge necessary for effective removal. The article outlines how to identify the type of adhesive used on the toilet flange, which is critical for selecting the appropriate method for removal.
Before attempting the disconnection process, safety precautions are highlighted to ensure a safe working environment. The step-by-step guide for how to remove toilet flange glued to outside of pipe includes practical instructions to effectively detach the flange without damaging the underlying plumbing. Additionally, tips for preventing future adhesive issues with toilet flanges are shared, helping homeowners avoid similar problems in the future. Overall, the article serves as a comprehensive resource for anyone facing the challenge of a glued toilet flange.