A toilet flange secures the toilet to the drainpipe and supports the seal against leaks. It also keeps the bowl firmly anchored to the finished floor. When this connection fails, you may notice rocking, sewer odors, or water around the toilet base.
Many readers search for “how does a toilet flange attached to the pipe,” but the answer depends on pipe material, flange design, and floor condition. PVC, ABS, cast iron, and damaged pipes require different attachment methods. This guide examines seven practical options, including solvent-welded flanges, compression flanges, push-in models, repair rings, and replacement fittings.
Small details matter. A flange should sit level with, or slightly above, the finished floor. The pipe must be clean, dry, and free from cracks before installation. A warped flange can defeat an otherwise careful repair. It happens.
The recommendations reflect common plumbing practice and manufacturer installation guidance. However, local conditions can change the best solution. An older cast-iron drain may need more patience than a clean PVC connection. In my experience, rushing surface preparation creates problems that remain hidden until the toilet moves. Checking the pipe diameter, fastener positions, and floor strength is essential.
Each method has advantages, limitations, and suitable applications. Some are quick repairs. Others provide stronger long-term support. The following comparison will help you choose a secure attachment method without relying on guesswork. Always test the finished connection for movement and leakage before regular use.
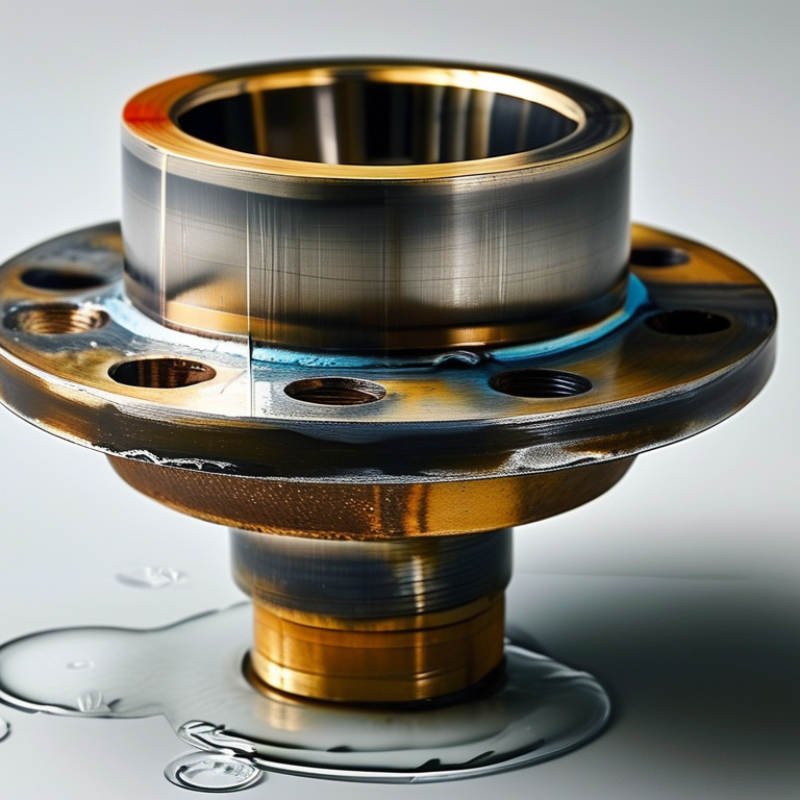
Choosing the correct toilet flange starts with identifying the pipe material. PVC and ABS usually accept solvent-weld flanges. Cast iron needs a compression flange, caulked connection, or a mechanically fastened repair ring. Copper requires a transition fitting, not direct plastic bonding. Seven practical options include an outside-fit flange, inside-fit flange, compression flange, repair ring, adjustable flange, offset flange, and cast-iron replacement flange.
Each option has different installation requirements. The flange should sit level with the finished floor, or slightly above it. Its fasteners must enter solid subflooring, not only tile or thin plywood. Use compatible primers, cement, gaskets, and stainless screws. Never force a flange onto a damaged or oval pipe. I have seen a perfect-looking bathroom develop leaks because the pipe was cut too low. The mistake was small. The repair was not.
The Water Research Foundation’s Residential End Uses of Water Study reports that toilets use about 24% of indoor household water. EPA WaterSense data also shows certified toilets use no more than 1.28 gallons per flush, compared with older 3.5-gallon models. A loose flange can waste water indirectly through seepage and repeated flushing. Check the pipe diameter, wall thickness, finished-floor height, and local plumbing code before choosing hardware. Then test the connection with several flushes and inspect the ceiling below. I still recheck the wax seal after installation. It is cheaper than trusting a hidden leak.
Preparing the drain pipe correctly determines whether any of the seven flange attachment methods will remain reliable. Cut the pipe square, then remove burrs with a deburring tool. The pipe should be clean, dry, and free from old wax or adhesive. A rough edge can damage a gasket or prevent a solvent-welded joint from seating fully. The U.S. Environmental Protection Agency’s WaterSense program reports that household leaks can waste nearly 10,000 gallons of water yearly. A hidden toilet leak deserves serious attention.
Measure from the finished floor, not the unfinished subfloor. Dry-fit the flange and check that its top surface will sit level with, or slightly above, the finished flooring. Many installation guides use about 12 inches from the finished wall to the drain center, but wall coverings can change that distance. Confirm the actual centerline instead. The 2024 International Plumbing Code requires a closet flange connection to remain watertight and securely fastened. Use corrosion-resistant screws that reach solid framing or suitable blocking. I have seen loose flanges caused by thin flooring and short screws. That mistake is easy to miss.
Tips: Mark the pipe at floor level before cutting. Test the flange with the toilet removed. Check rotation and bolt-slot alignment twice. Do not force a tilted flange flat with uneven screws; correct the support underneath. A small level helps. When the pipe is damaged, stop and replace the affected section rather than hiding it beneath wax. EPA WaterSense guidance also emphasizes prompt leak repair, which supports careful testing before the toilet is finally sealed.
| Method | Compatible Drain Pipe | Drain-Pipe Preparation | Flange Position and Measurement | Attachment Procedure | Main Advantages | Important Limitations |
|---|---|---|---|---|---|---|
| 1. Solvent-Weld Flange Over the Outside of PVC Pipe | Typically 3-inch or 4-inch PVC closet-bend or drain pipe with a compatible outside diameter. | Cut the pipe square, remove burrs, clean and dry the bonding surfaces, and test-fit the flange before applying cement. | Measure from the finished wall to the center of the drain opening. A common rough-in is 12 inches (305 mm), but the toilet specification controls. Set the flange top level with, or slightly above, the finished floor according to local requirements. | Apply the approved primer and solvent cement to the pipe and flange socket. Push the flange fully into position with a slight twisting motion, then hold it briefly while the joint sets. | Creates a permanent, watertight plastic joint and is suitable for new PVC installations. | The flange cannot be repositioned after the cement sets. The pipe and flange must be clean, dry, and correctly aligned before bonding. |
| 2. Inside-Fit PVC Flange | PVC drain pipe where the flange is designed to fit inside the pipe rather than over its outside surface. | Remove debris and standing water from the pipe. Confirm that the inside diameter and flange design are compatible, then cut the pipe cleanly if its height is excessive. | Use the finished wall, not the unfinished framing, as the reference point. Check the toilet’s required rough-in and keep the flange centered over the drain opening. | Apply the specified primer and solvent cement to the inside of the pipe and the outside of the flange spigot. Insert the flange completely and align the bolt slots before the cement cures. | Useful when the existing pipe is difficult to access from the outside or when floor height limits an outside-fit flange. | It slightly reduces the drain passage and must not be forced into a pipe with an incompatible inside diameter. Verify local plumbing requirements before use. |
| 3. Solvent-Weld Flange Over the Outside of ABS Pipe | ABS drain pipe, commonly 3 inches or 4 inches in nominal size. | Cut the ABS pipe square, deburr the edge, remove dust and moisture, and confirm that the flange socket reaches the intended depth. | Mark the drain center using the finished wall and the toilet manufacturer’s rough-in dimension. The flange should be supported by the finished floor or structural subfloor, not left floating above it. | Use solvent cement specifically approved for ABS. Push the flange onto the pipe fully, align the slots, and allow the joint to cure for the time stated on the cement instructions. | Provides a strong, simple connection for ABS systems and avoids mechanical fasteners at the pipe joint. | Do not substitute PVC cement unless it is specifically rated for the materials involved. Confirm compatibility when joining different plastic types. |
| 4. Compression or Mechanical Flange for Existing Cast-Iron Pipe | Sound cast-iron pipe with a clean, round, accessible end. | Remove the old flange and corrosion, clean the pipe exterior, and inspect it for cracks, severe pitting, distortion, or movement before measuring. | After dry-fitting, position the flange so its top is supported at the finished-floor elevation and its bolt slots are convenient for toilet installation. | Slide the compression gasket and flange over or into the pipe as directed by the fitting design. Tighten the compression hardware evenly, then anchor the flange to solid flooring. | Can be installed without heating, lead work, or solvent cement; useful for repairs where the pipe remains structurally sound. | Not suitable for badly damaged or loose cast iron. The gasket and flange must match the actual pipe dimensions, and the connection must remain accessible during installation. |
| 5. No-Hub Transition Assembly with a Mechanical Flange | Cast iron connected to plastic pipe, or a cast-iron section that needs a code-approved transition. | Cut the pipe square, remove sharp edges, support the drain assembly, and use a listed transition coupling designed for the two pipe materials. | Measure the toilet centerline from the finished wall and dry-fit the complete transition before final tightening. Keep the flange fully supported and level. | Join the pipe materials with the transition coupling, install the compatible flange, and tighten the coupling bands evenly to the specified torque when a torque requirement is provided. | Allows dissimilar pipe materials to be joined while accommodating repair or remodeling conditions. | A general rubber sleeve is not automatically suitable for buried or concealed plumbing. Use only a transition fitting permitted for the location and materials. |
| 6. Repair Flange Secured Around an Existing Flange | Existing PVC, ABS, or cast-iron flange with a damaged, cracked, or missing bolt ring but an otherwise usable drain connection. | Remove loose pieces, clean the old flange, check that the drain pipe does not move, and confirm that the repair flange sits flat without rocking. | Center the repair flange over the drain and align its slots with the toilet mounting bolts. Its top should be supported at the finished-floor level rather than left above the floor. | Place the repair ring over or around the existing flange and fasten it to solid subfloor or concrete with corrosion-resistant screws or approved anchors. | Often avoids removing the entire drain assembly and can restore secure toilet-bolt attachment during a floor repair. | It does not correct a leaking pipe joint or an unstable drain. Fasteners must penetrate sound structure, and the repair ring must be compatible with the existing flange. |
| 7. Adjustable or Offset Flange for Alignment Corrections | PVC, ABS, or cast-iron repair situations where the pipe is sound but the original flange position does not match the toilet outlet. | Expose enough flooring to inspect the pipe, remove the old flange if required, and dry-fit the adjustable or offset assembly before applying cement or tightening mechanical parts. | Measure from the finished wall to the toilet centerline and check side clearances. An offset changes the drain center, so confirm that the resulting position meets the toilet installation requirements. | Attach the pipe connection using the appropriate solvent-weld, compression, or mechanical method. Rotate or position the adjustable ring, then fasten it securely to the subfloor. | Provides limited rotational or horizontal adjustment when joists, framing, or an earlier rough-in prevent a standard flange from lining up. | Offset fittings may reduce clearance and can affect drainage geometry. Do not use one to conceal an improperly supported or leaking pipe. |
A solvent-welded toilet flange creates a strong, leak-resistant connection when the pipe and flange match correctly. PVC belongs with PVC cement, while ABS requires cement designed for ABS. Do not assume one product suits both materials. Confirm compatibility on the container and follow local plumbing requirements.
I have found that preparation matters more than speed. Cut the pipe square, then remove burrs from the inside and outside edges. Wipe away dust and moisture. Dry-fit the flange first, keeping its flat surface level with the finished floor. Mark its final position before applying cement. If the connection requires primer, apply it evenly without flooding the joint. Add cement to both surfaces, push the flange fully onto the pipe, and twist it slightly. Hold it still for several seconds.
Let it cure.
Secure the flange through its screw holes and into solid flooring, not only thin underlayment. The flange should not rock or sit above the finished floor. I once rushed a similar repair and left the pipe slightly misaligned. The toilet later shifted, exposing a small leak risk. That mistake taught me to check alignment from several angles before the cement sets. Solvent welding is permanent, so a dry fit is not optional. Keep the joint clean, support the pipe underneath, and respect the stated curing time before installing the toilet.
7 Best Ways to Attach a Toilet Flange to a Pipe?
A reliable flange starts with accurate measurement. Check the pipe diameter, finished-floor height, and pipe condition. Remove burrs, dust, and standing water. The Residential End Uses of Water, Version 2 report found toilets consume about 24% of indoor household water. A small leak deserves attention.
For glue-free installation, compression flanges suit clean, accessible pipes. Tighten the gasket evenly, then check for movement. Push-fit flanges install faster, but the pipe must be fully inserted and properly supported. Threaded flanges work well when the pipe has compatible threads. Use a new seal, align the bolt slots, and anchor the flange to solid flooring. Never rely on the pipe alone.
Seven practical checks improve reliability: measure twice, inspect the cut, deburr the pipe, choose the correct flange type, dry-fit every connection, fasten evenly, and test for leaks. I once trusted a dry fit too quickly. That shortcut was wrong. A flange can feel secure while shifting under toilet load. The U.S. Environmental Protection Agency reports that toilets represent nearly 30% of indoor water use in typical homes. Therefore, test with several flushes and inspect beneath the floor. Local plumbing requirements still control the final installation.
7 Best Ways to Attach a Toilet Flange to a Pipe?
A secure toilet flange starts with a clean, stable pipe. Cut away cracked material and remove wax, rust, and loose mortar. The flange should sit level on the finished floor, not several millimeters above it. Measure twice. A small height error can cause rocking, leaks, or uneven bolt pressure. Suitable attachment methods include solvent welding, mechanical compression, stainless screws, masonry anchors, and approved transition fittings. The correct choice depends on pipe material, floor structure, and flange condition.
Repair rings work well when the original flange is sound but its bolt slots are damaged. Place the ring flat over the existing flange, align the closet bolts, and fasten it firmly to the subfloor. Use corrosion-resistant screws long enough to grip solid material. Do not rely on brittle tile alone. I have seen rings installed over soft, swollen wood; they looked secure but moved during testing. That mistake needs more thought.
Cast-iron flanges require careful support because the pipe is heavy and easily stressed. A mechanical replacement flange can grip the pipe internally, but its seal must remain even around the full circumference. For a broken hub, a shielded transition coupling may provide a safer connection than forcing mismatched parts. Offset flanges help when the toilet centerline misses the drain by a small distance. Dry-fit one before drilling. Check wall clearance, bolt alignment, and the bowl footprint. Tighten gradually, then test with several flushes while inspecting below.
: Cut the pipe squarely, then remove burrs with a deburring tool. Clean and dry the surface completely. Remove old wax, adhesive, rust, and loose material. A rough edge can damage the gasket.
Measure from the finished floor, not the unfinished subfloor. The flange top should sit level with, or slightly above, the finished flooring. A small height error can cause rocking and leaks.
Dry-fit the flange with the toilet removed. Confirm the actual drain centerline instead of trusting a standard wall measurement. Wall coverings can change the final distance. Measure twice.
Use corrosion-resistant screws that reach solid framing or suitable blocking. Do not depend on thin flooring, brittle tile, or short screws. The flange must remain stable during repeated flushing. Support matters.
Use a repair ring when the existing flange remains sound, but its bolt slots are damaged. Place it flat, align the closet bolts, and fasten it firmly. Check the material underneath before tightening. Soft wood can deceive you.
Support the heavy pipe before installing a replacement flange. Mechanical flanges must seal evenly around the entire circumference. For a broken hub, use a compatible shielded transition fitting. Do not force mismatched parts together.
An offset flange can correct a small mismatch between the toilet and drain centerlines. Dry-fit it before drilling. Check wall clearance, bolt alignment, and the bowl footprint. A good-looking fit may still be poorly supported.
Tighten the fasteners gradually, without pulling a tilted flange flat. Use a small level during installation. Flush several times and inspect underneath for movement or moisture. Repair damaged pipe sections before final sealing. Do not hide damage.
Attaching a toilet flange correctly begins with understanding the flange type, drain-pipe material, and installation requirements. The key question, “how does a toilet flange attached to the pipe,” depends on whether the connection uses solvent welding, compression, push-fit, or threading. First, clean and inspect the drainpipe, remove debris, and measure carefully so the flange sits level and at the proper height in relation to the finished floor. Accurate positioning helps prevent leaks, rocking, and poor toilet alignment.
PVC and ABS flanges are commonly attached with the appropriate solvent-welded connection, while compression, push-fit, and threaded models can be installed without glue when compatible with the existing pipe. Repair rings should be firmly anchored to stable flooring, cast-iron flanges require suitable mechanical fastening, and offset flanges must be positioned precisely to correct alignment problems. Always follow the fitting’s instructions and confirm that the finished connection is secure before installing the toilet.
EZ STEEL